For two years I’m now part of the Astronomy Club from Grenoble : astrosurf.com/gad/ and I started to make my first photos with the Moon.
I tried here to recap the progress and the tool I used to move to the next step up to the best picture obtained at the bottom of this post.
Software and hardware used
Hardware:
Software:
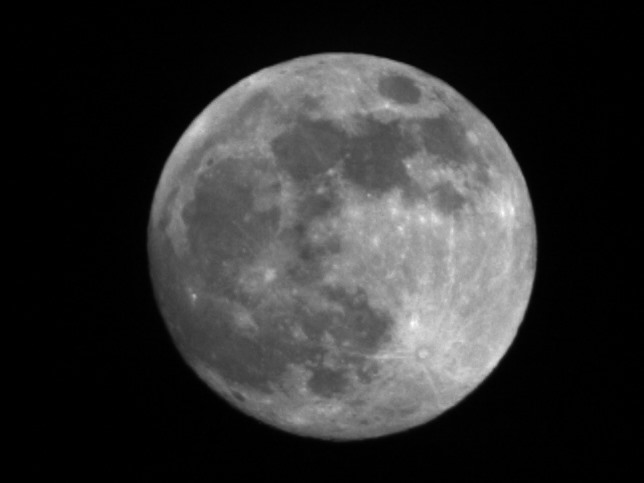
First try - one shot
My first try was taking the moon directly with my camera, an old Canon EOS-50D with a Canon EFS18-200 taking a single shot.
To get a stable picture I used a tripod.
Second try - first stacking
To get a better picture, one can try to stack many pictures to reduce the noise on the picture and to make some picture treatment improving the final quality.
Here I took 300 shots with ISO=100 and Exposure=1/160. At this stage I was triggering the shots by hand…. lots of patience.
The stacking as been made with astrosurface.
Third try - control the camera from computer
At this stage I first changed my way to take the photos by using the Canon Utility Software to control the camera from my computer to trigger the shot and directly get the RAW files on my computer without going through the SD card.
The biggest advantage is to avoid moving the camera at shot time with my hands.
I also moved back to keep the gray scaled image instead of random color which leads to something which renders better.
Still I’m stacking with astrosurface.
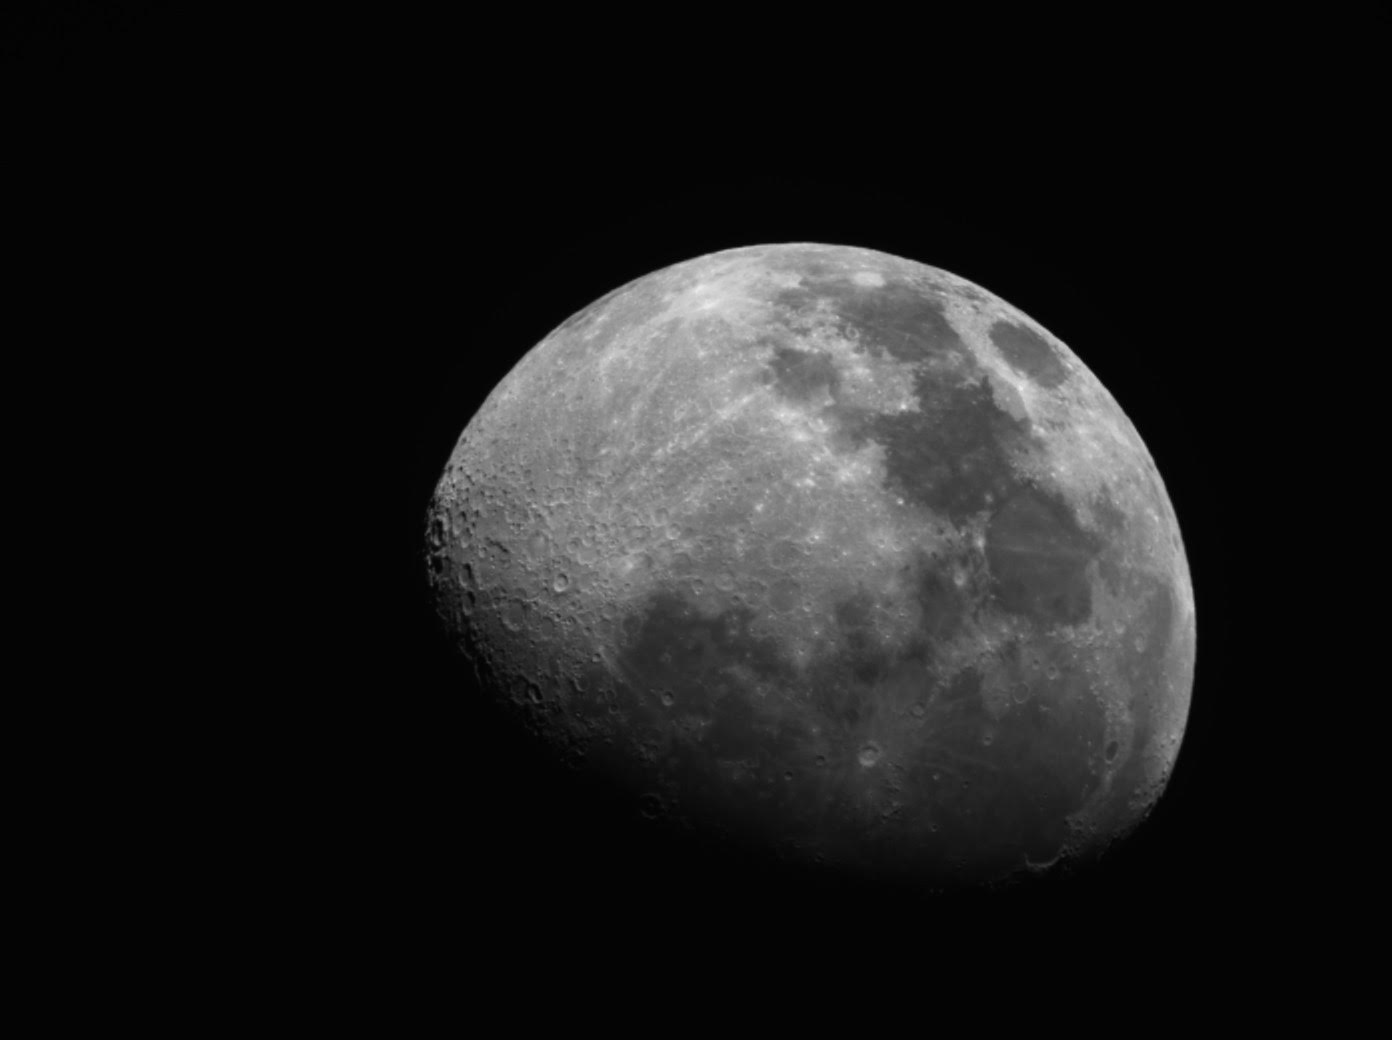
Third try - compensate the moon rotation
The Canon Utility software does not permit to take more pictures than 1 every 5 seconds which with 300 shots make a delay of 25 minutes letting the time for the moon to move in the camera field and with a rotation because I do not have a station with earth rotation compensation but just a simple tripod. It leads to some issues when I tried to stack.
In order to fix this I moved to another software stack:
- PIPP to crop the pictures around the moon and keep a smaller image and accelerate the next stages.
- Autostakkert to make the stacking and fix the rotation of the moon in the camera field plus the atmospheric displacements.
- astrosurface to make some post-treatment like deconvolution and some contrast fixing.
I also changed a bit the shoting parameters: ISO=400, Exposure=1/640.
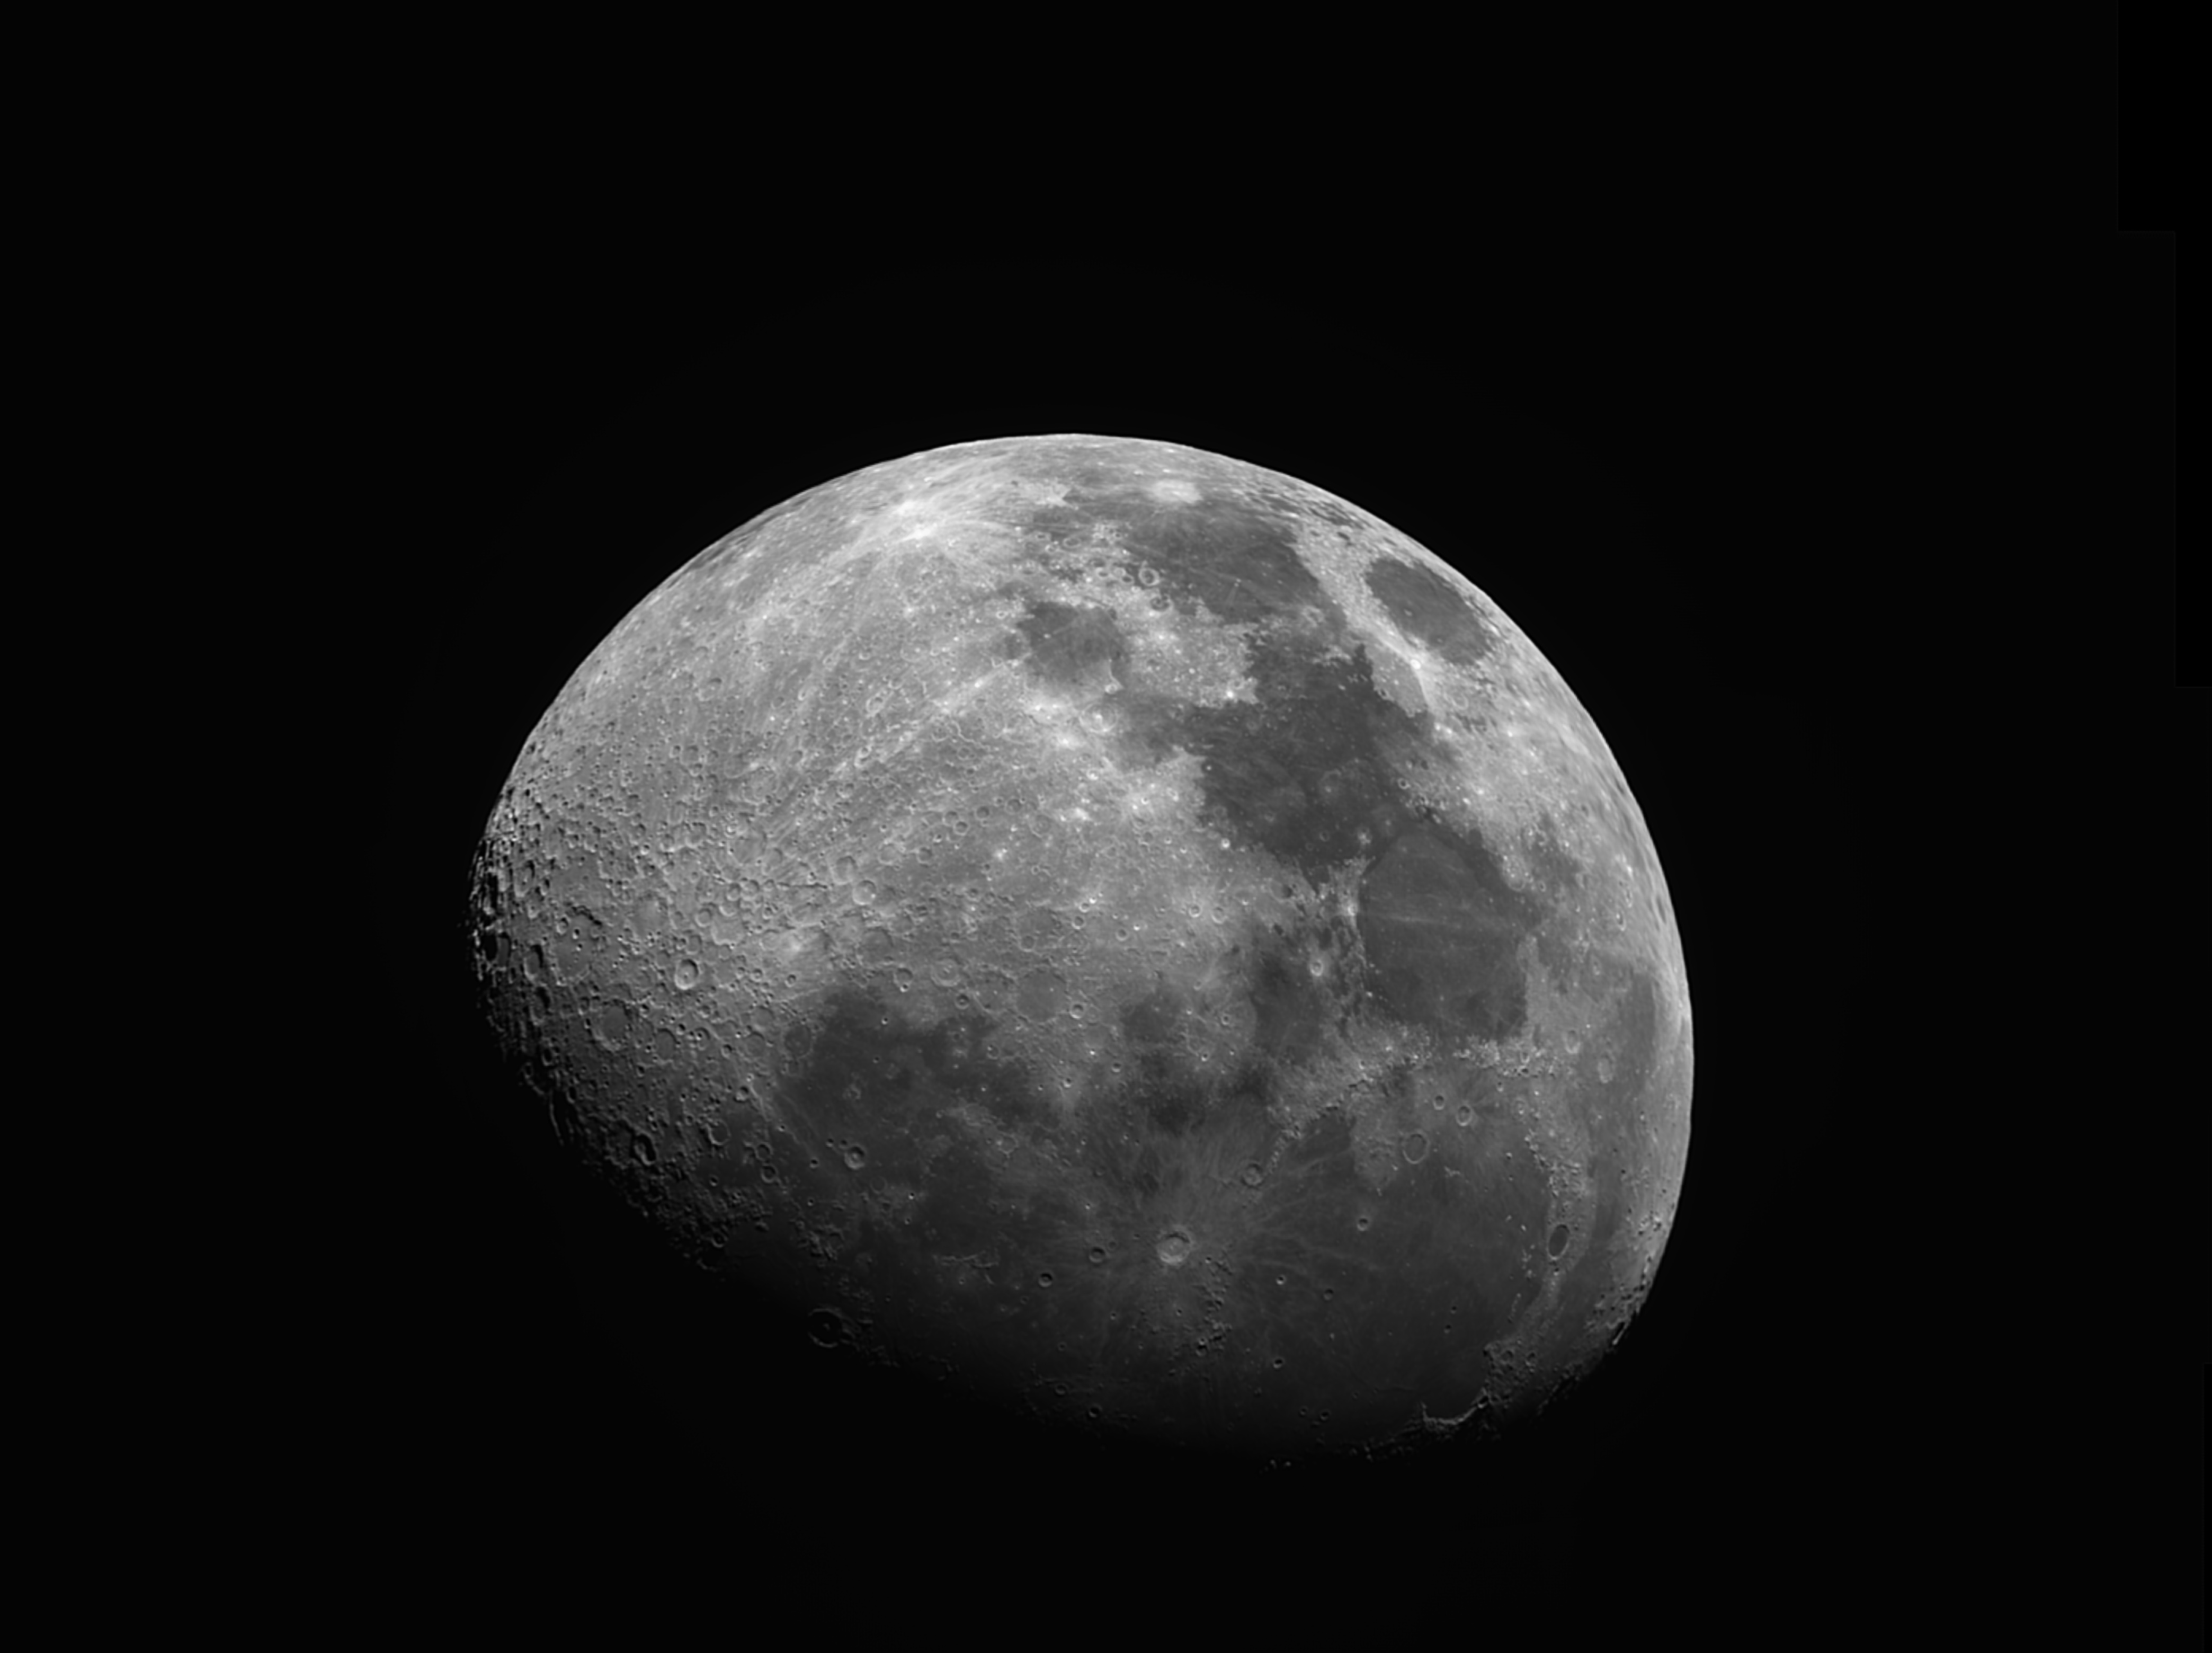
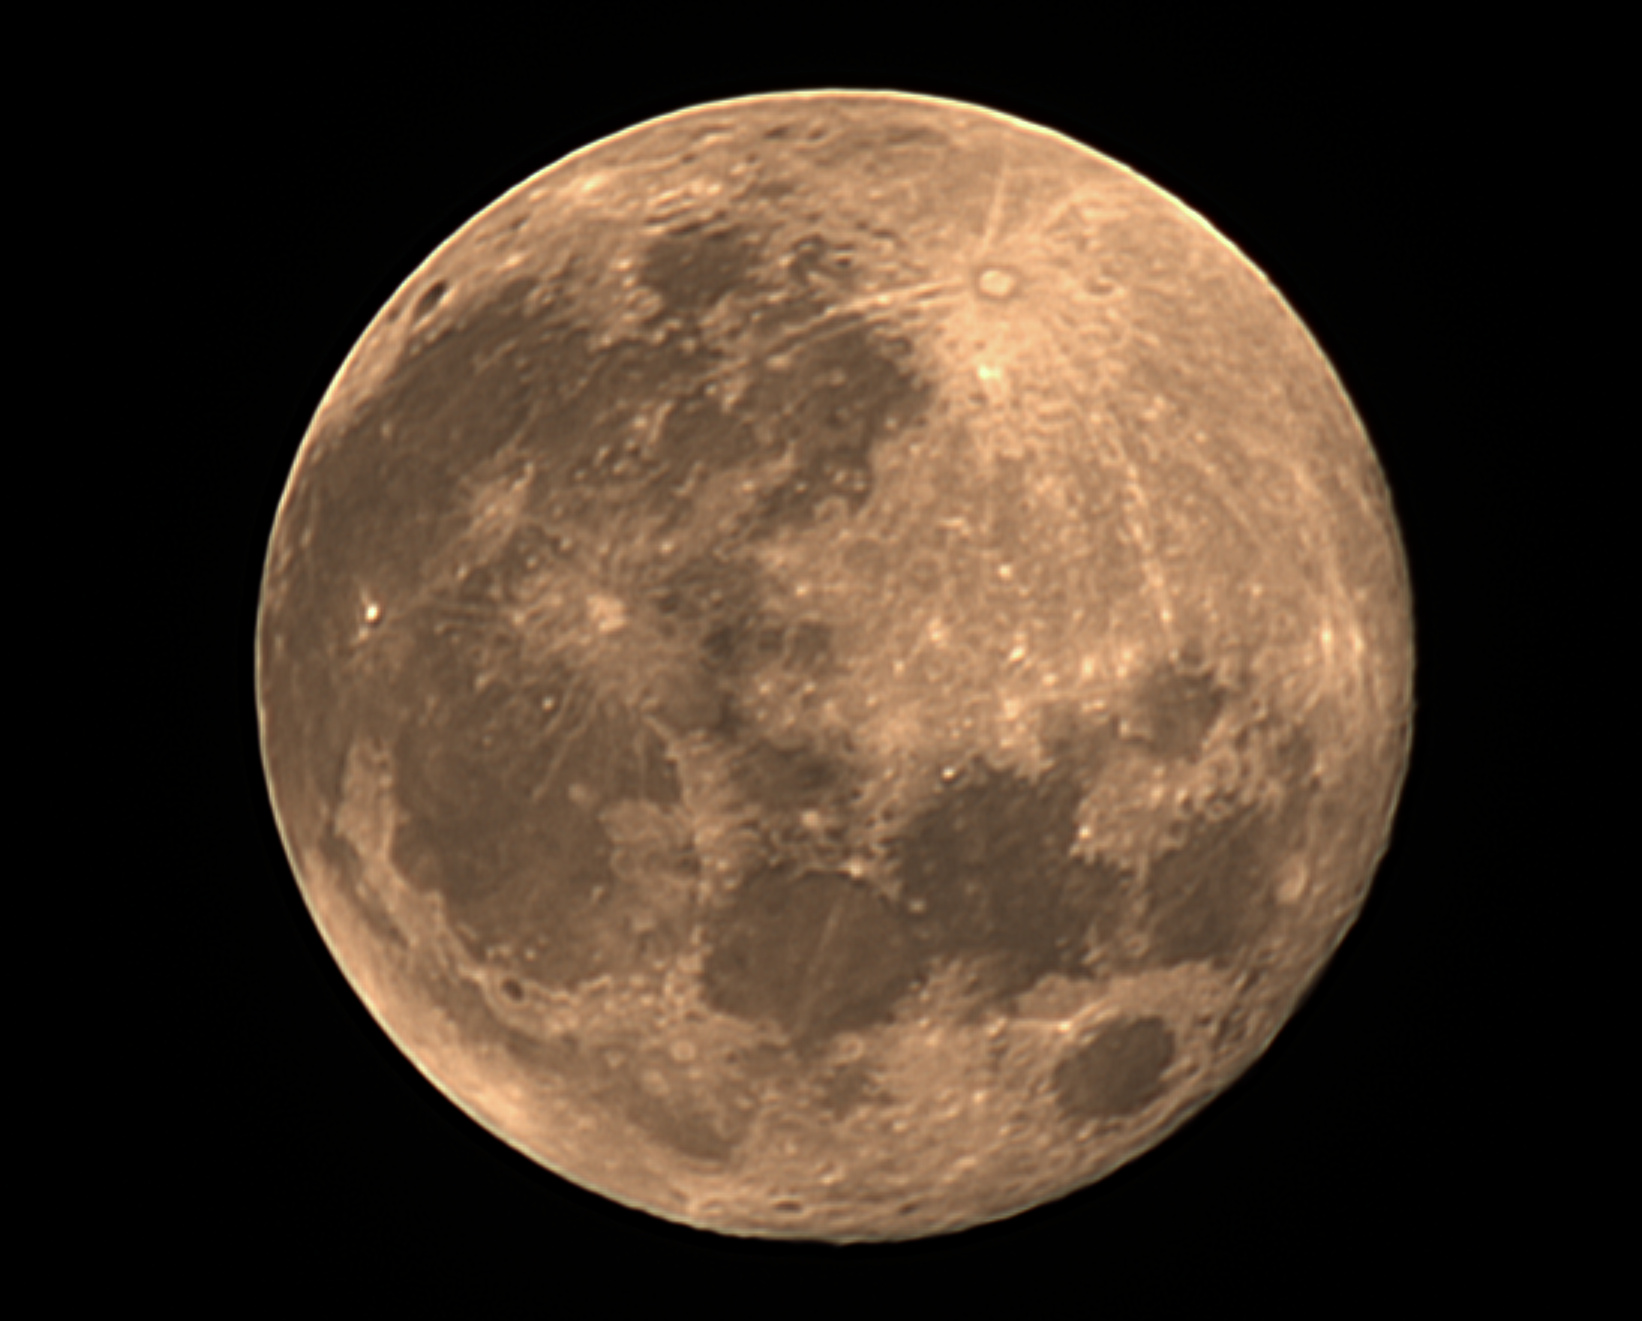
Final try - telescope and dedicated camera
We made a try one night with someone from the astronomy club and a better hardware setup using the Telescope from the club:
- Telescope: SkyWatcher Black Diamond
- Mount: SkyWatcher NEQ6
- Camera: Atik Infinity
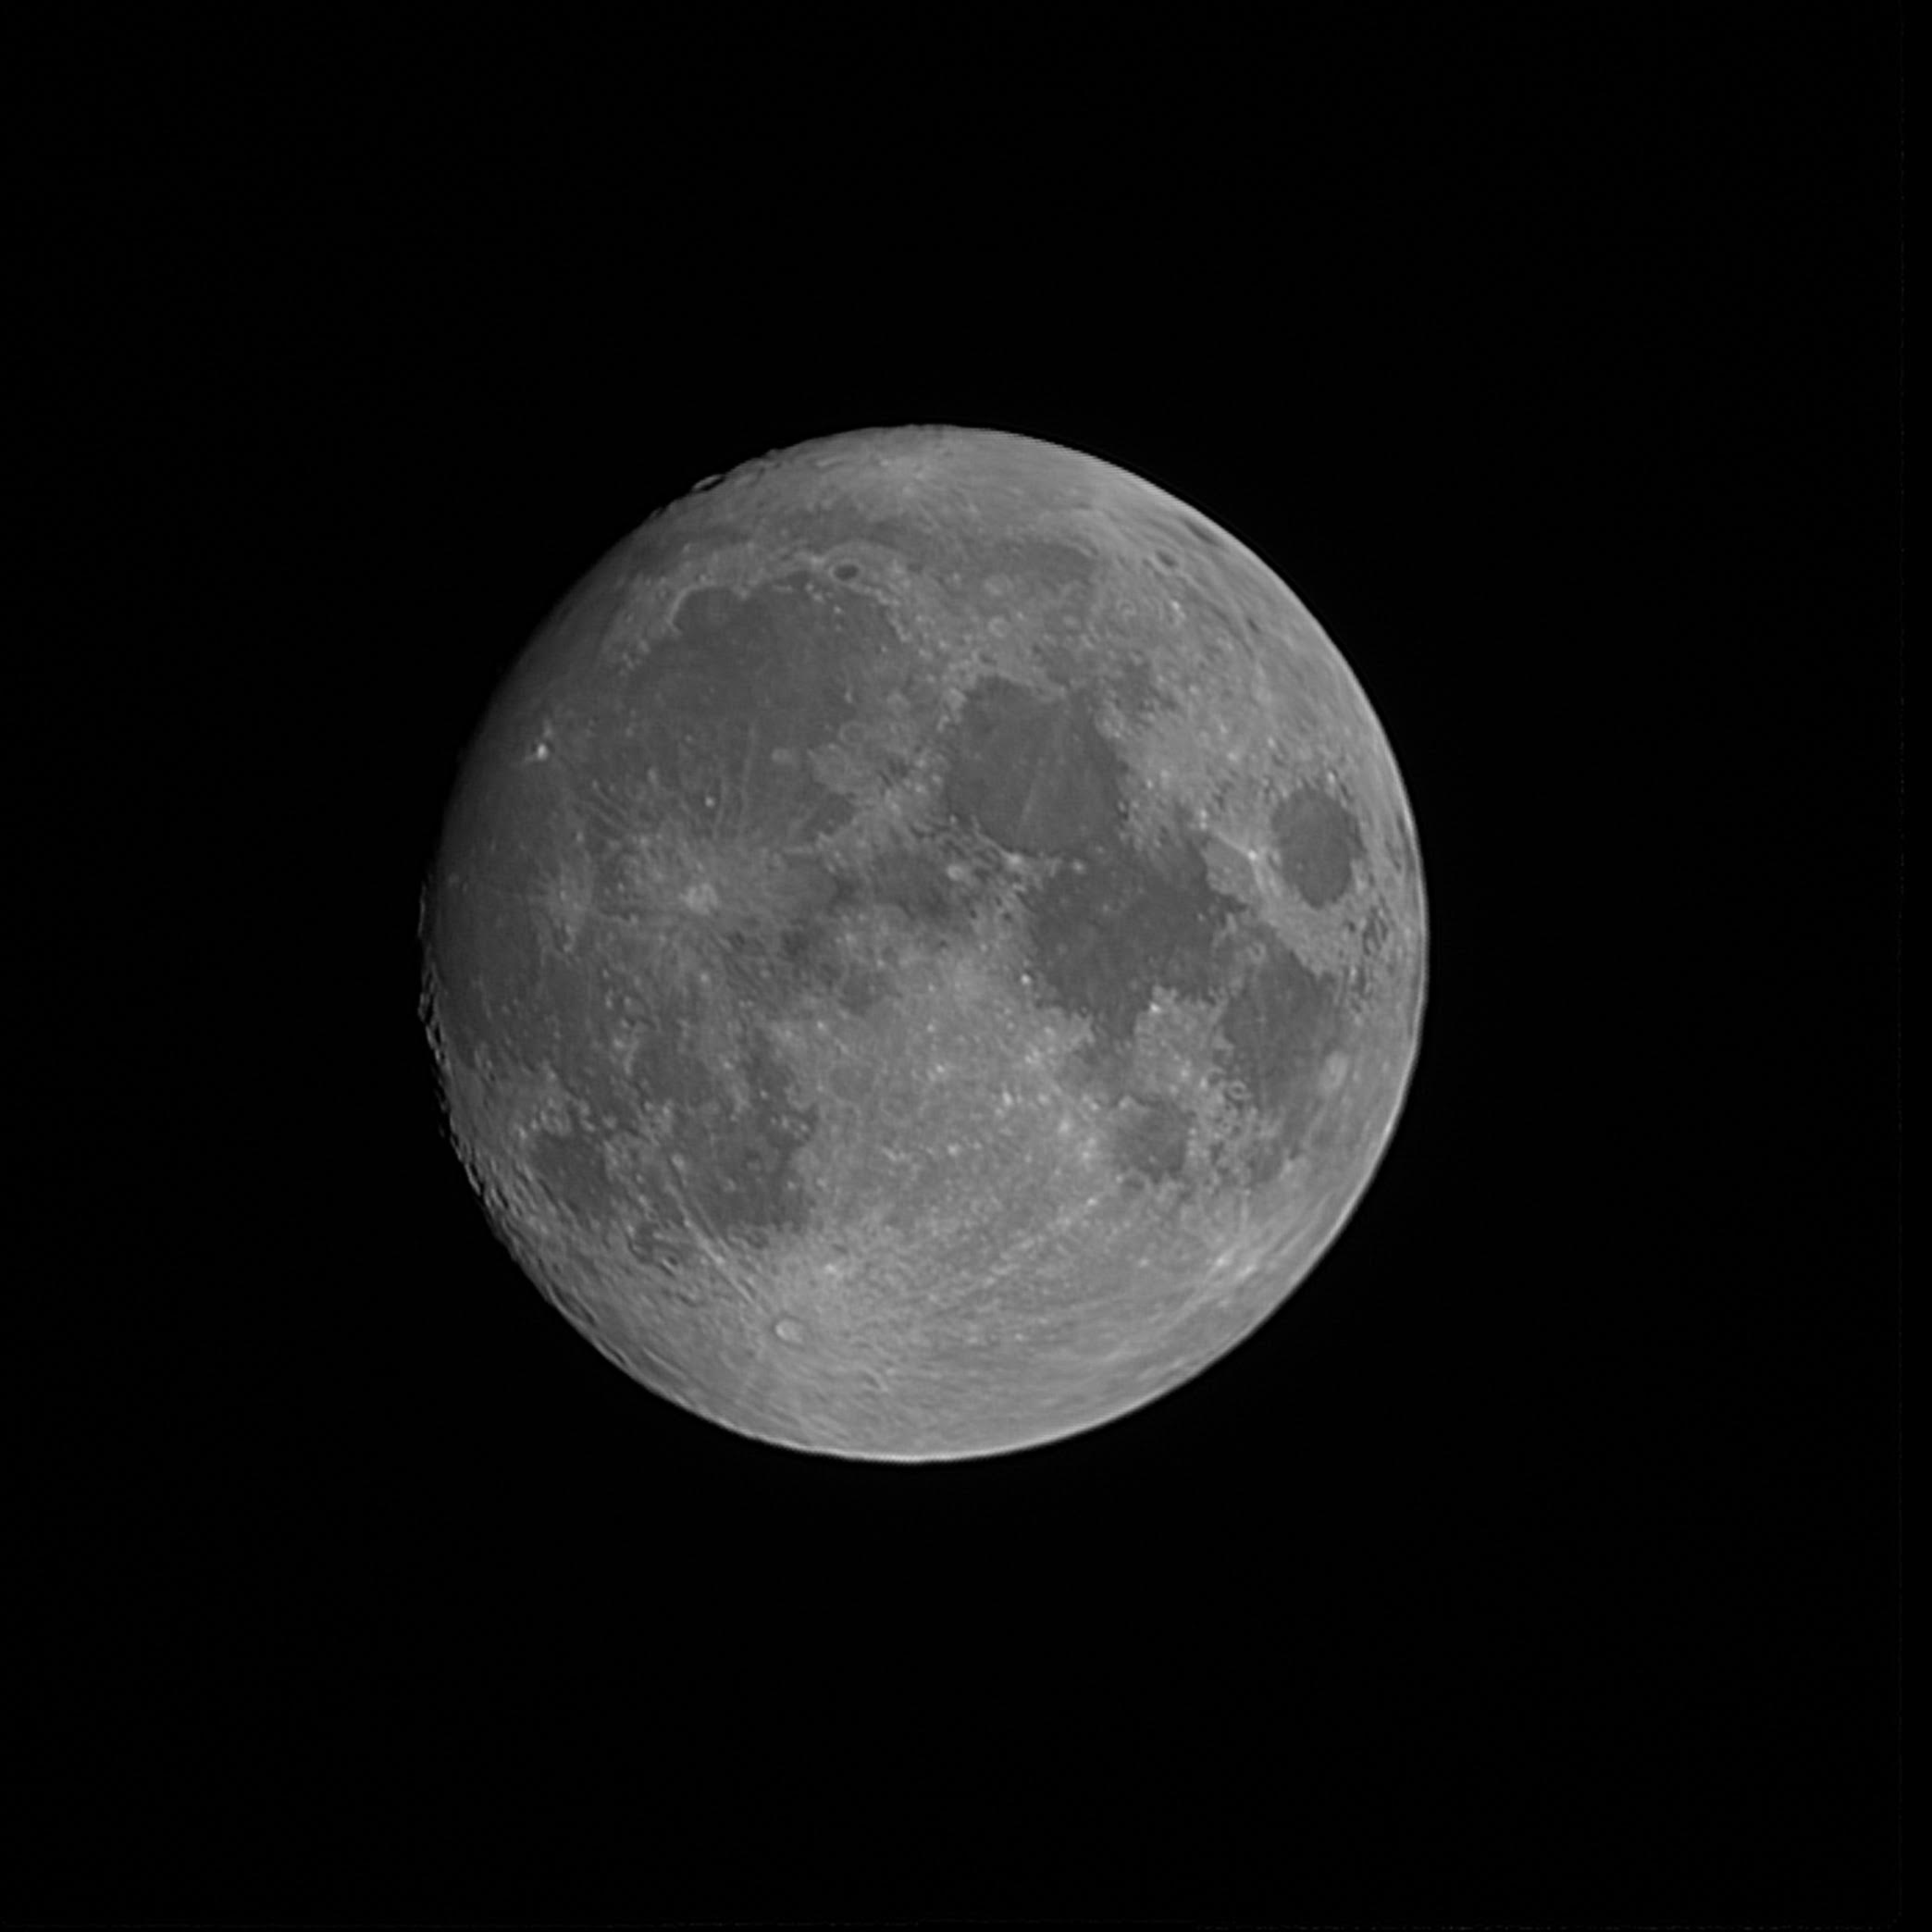
With this setup we took 3000 shots using the SharCap software for making visual assisted observations. The files were SER video files (multiple RAW pictures in the same file).
For the treatment we proceeded a bit like the previous try :
- PIPP to merge the SER files generated in a single one.
- Autostakkert to make the stacking and fix the rotation of the moon in the camera field plus the atmospheric displacements.
- astrosurface to make some post-treatment like deconvolution and some contrast fixing.
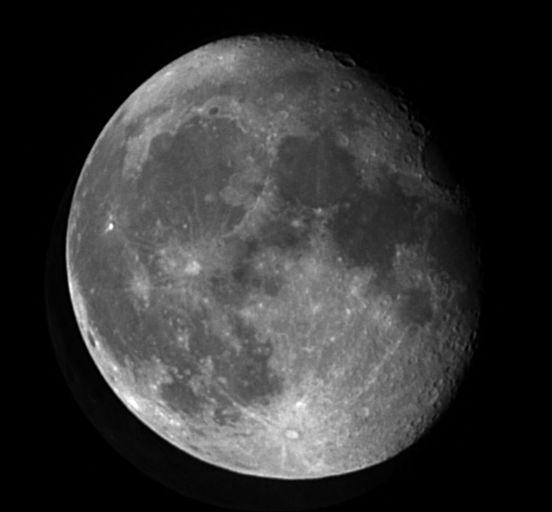
One can compare the results with a single shot (not stacked and no deconvolution) with next the final results by stacking the 3000 shots: